|
|
Post by coolmarocrzy on Nov 25, 2011 15:46:50 GMT -6
Can't wait till we have another one of these nights. 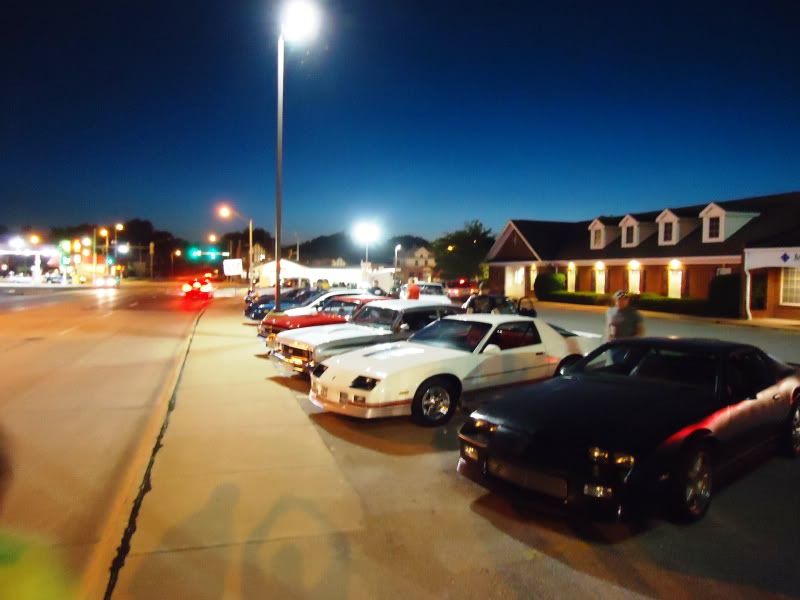 |
|
|
|
Post by thirdgen60 on Nov 26, 2011 12:06:18 GMT -6
Damn what a good time that was. Now im just pissed that its winter
|
|
|
|
Post by thirdgen60 on Dec 3, 2011 4:35:07 GMT -6
Update: Got to work tonight pulling the cam out because i sold it. An ls6 cam will be here next weekend so the car gets to sit in pieces for the week. 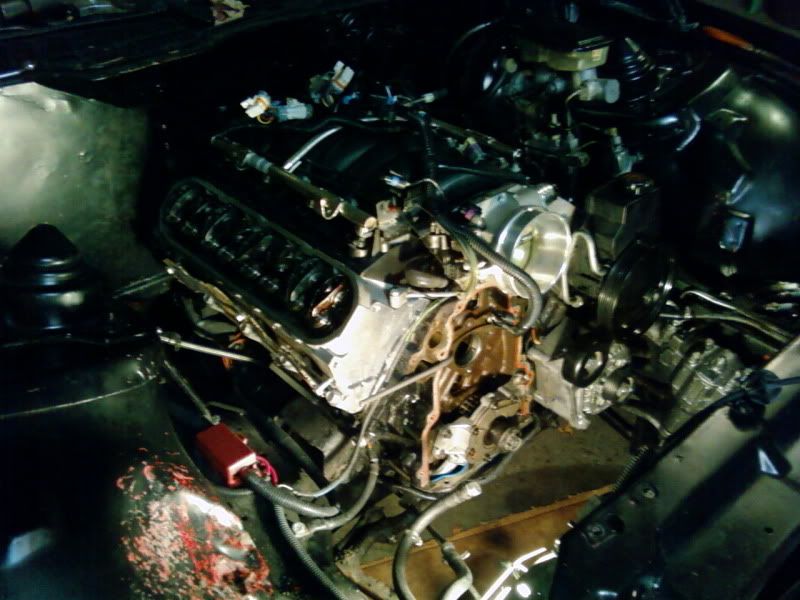 Once i got that done, there wasn't much else to do so i spent a good amount of time grinding, filing, and sanding on the valve covers. I was considering buying some aftermarket valve covers but i don't really like any of them that much so i figured i would just save the money for something else. 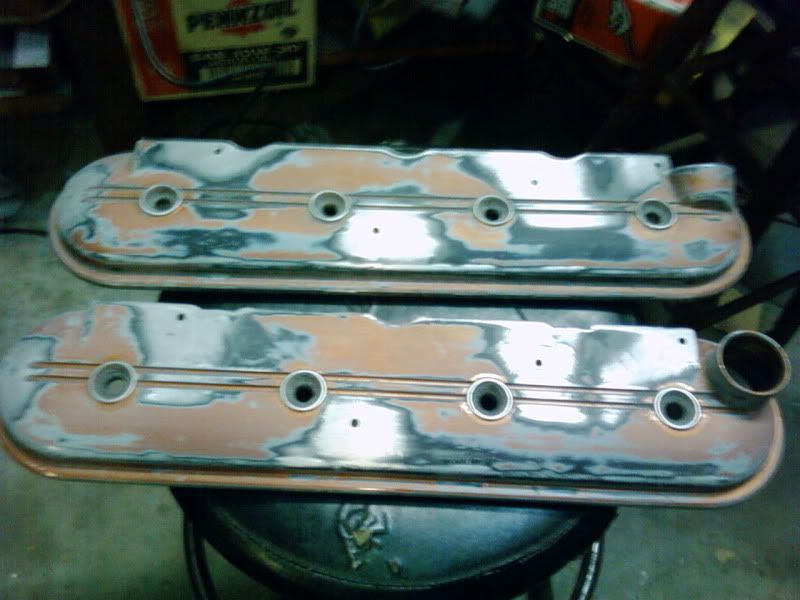 I shot them with some primer to check how smooth they are and they turned out pretty good. I still need to fill whats left of the coil holes and weld some -8 fitting into them for catch can lines. I havent decided what color im going to go with yet but i did like the burnt orange that they were before so i may do that again. 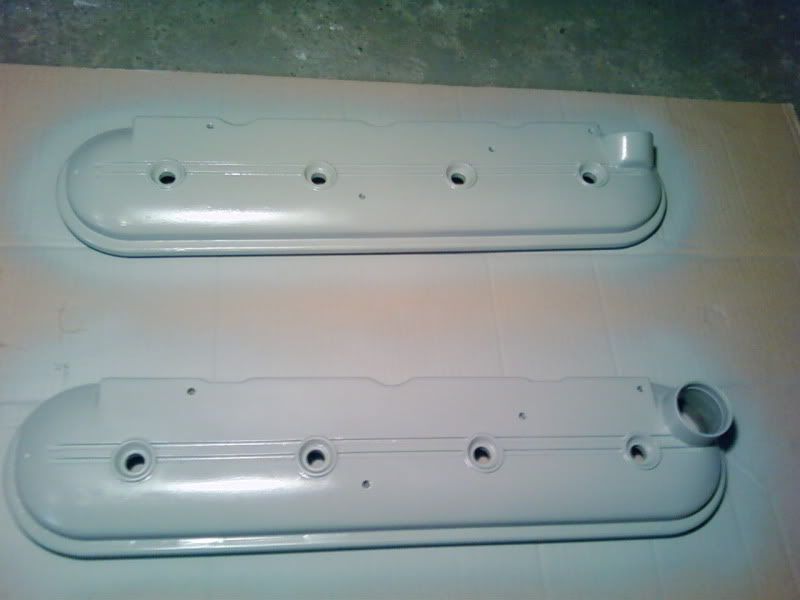 |
|
dueces
Wrecked Daddy's Car
  
Posts: 565
|
Post by dueces on Dec 3, 2011 6:11:59 GMT -6
Very nice! Your bay will look oh "So Fresh and So Clean"!!!
|
|
|
|
Post by thirdgen60 on Dec 5, 2011 1:14:03 GMT -6
I have a couple more pics that i forgot to put up Here is the wastegate placement, i still need to tie the outlet back into the exhaust. 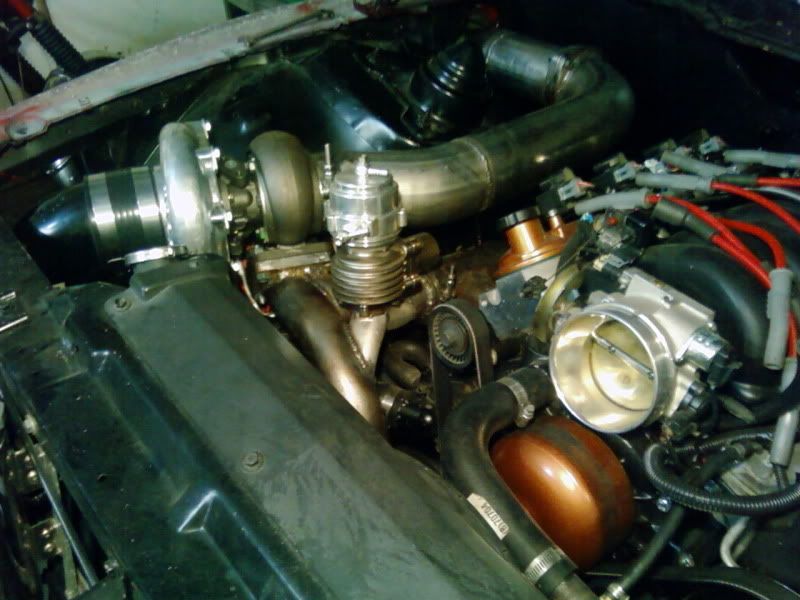 Also a quick shot of the hood clearance, i can fit my hand in there so i should be good. 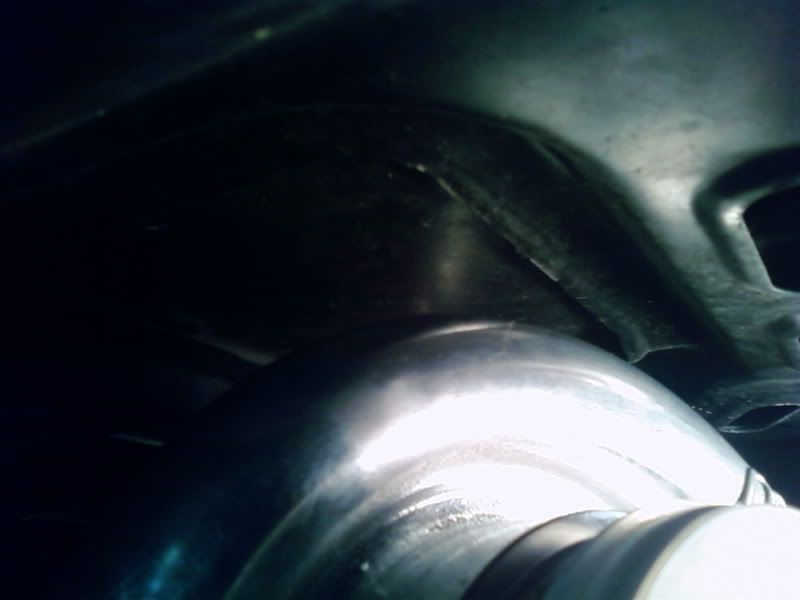 |
|
dueces
Wrecked Daddy's Car
  
Posts: 565
|
Post by dueces on Dec 5, 2011 4:16:42 GMT -6
Ha Ha, do you just wake up at 1am thinkin "shit, I forgot to post a couple pics!"
|
|
|
|
Post by thirdgen60 on Dec 5, 2011 12:54:02 GMT -6
haha well unfortunately i was only taking a break from doing homework at that time. My mind tends to think of everything else but homework while im doing it ;D
|
|
|
|
Post by thirdgen60 on Dec 8, 2011 23:57:46 GMT -6
Got the LS6 cam in on monday so i went ahead and threw it in today. Originally i was going to leave the oil pump on because i would have to drop the oil pan to get enough clearance to get the oil pump pick-up tube bolt out. But i realized that my last cam was advanced 2 degrees and to put it back to zero the crank gear had to be on a different keyway. So i had to drop the oil pan anyways but it gave me a good excuse to port the oil pump while it was out. This is all the farther the oil pan will drop while in the car. I guess it would be no fun if it was easy. 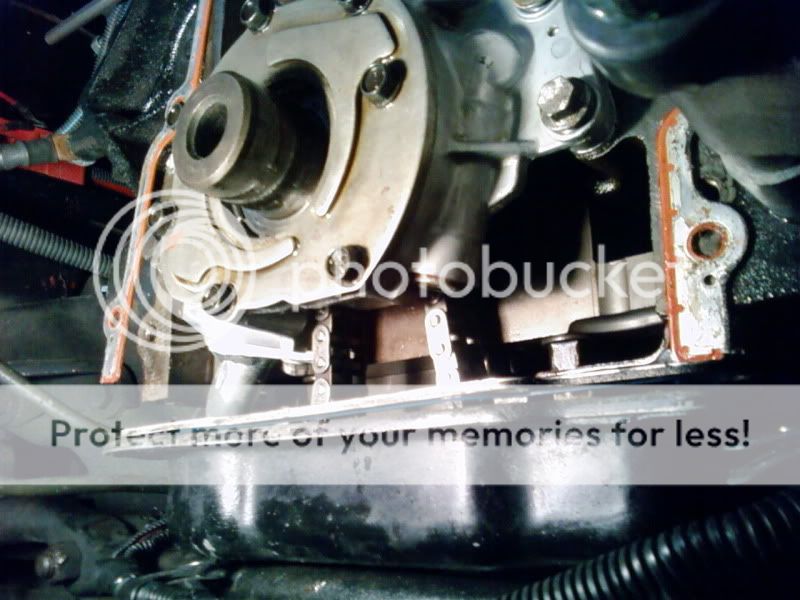 my phone camera sucks a close-ups, but here is my so called port job.  Everything back together 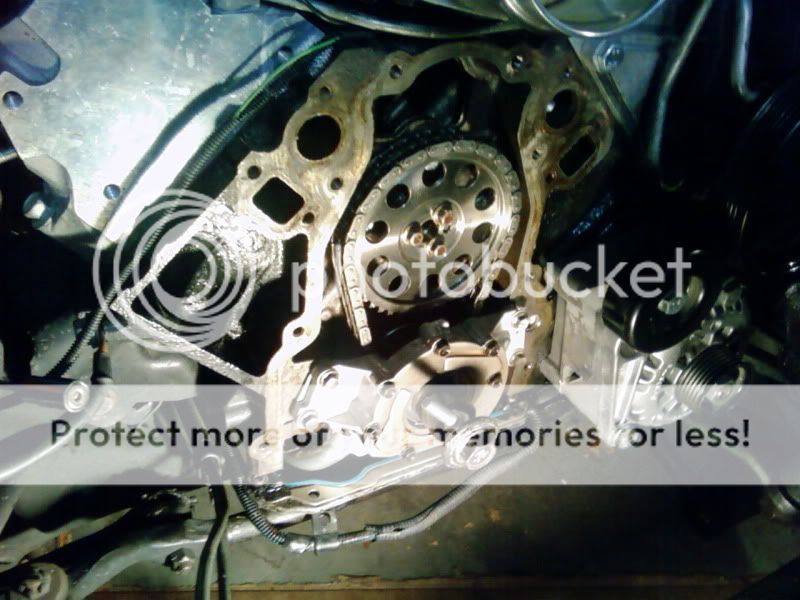 I got this front cover that was tapped for an oil drain but i realized that the location it is tapped is on a boss that was meant to give clearance for the oil pump bolts. The oil would be trying to drain from the turbo directly into the head of a bolt. It would probably still work but i dont really want to chance having to pull the front cover later so ill just tap my original cover in a better location 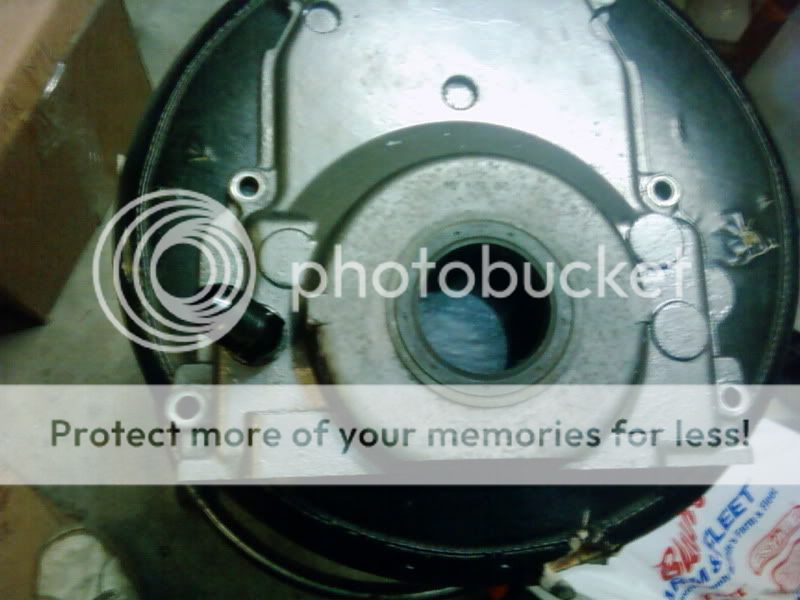 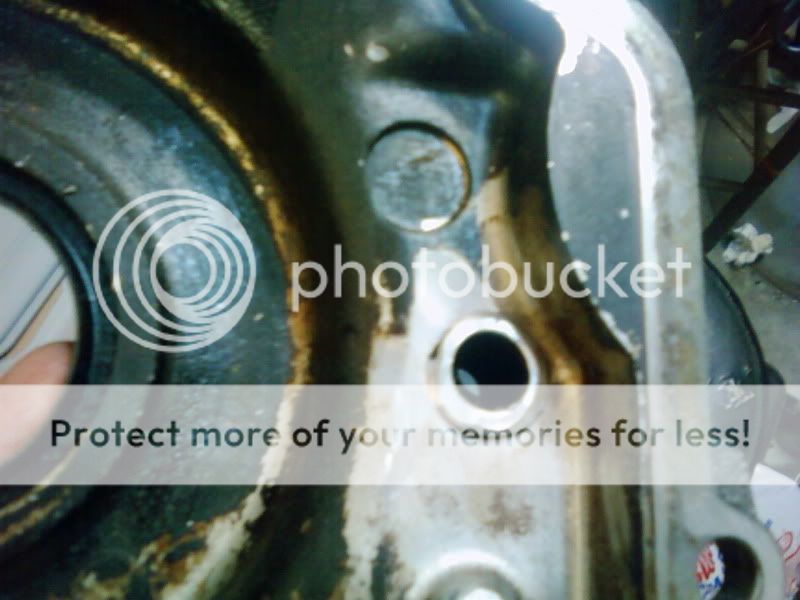 Also i just got in my 60lb injectors and my $92 ebay fuel rails!! 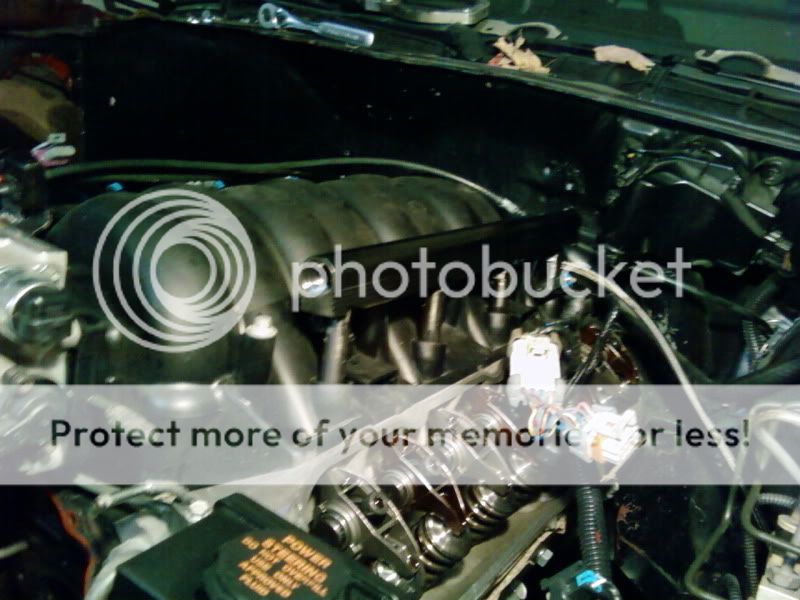 |
|
|
|
Post by thirdgen60 on Dec 19, 2011 23:11:10 GMT -6
Been pretty busy lately but i have made a little progress. I welded up the drain fitting in my front cover. No close-up pics because it was my first time welding aluminum  . 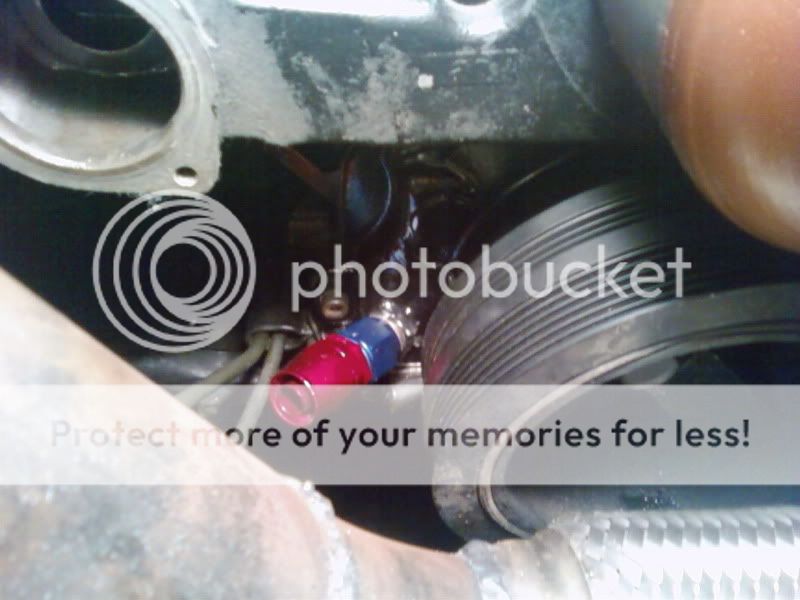 Got started on some of the fuel lines 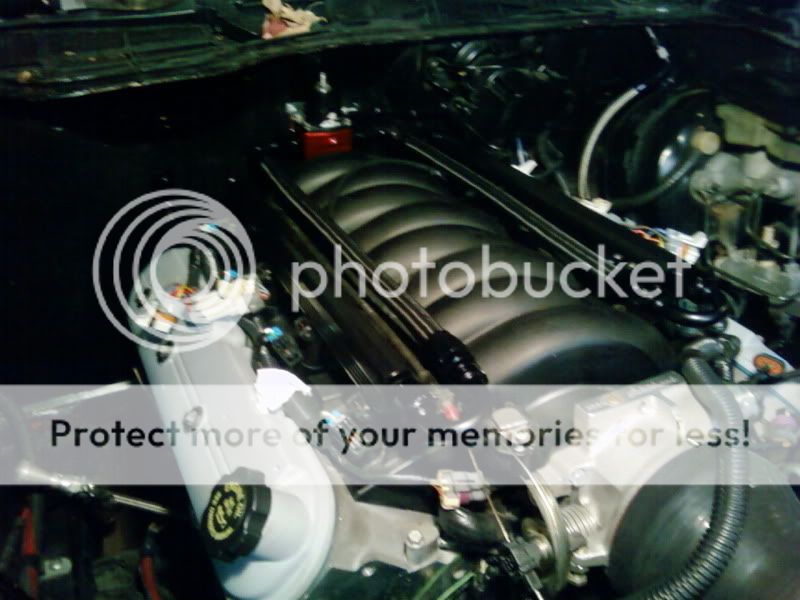 Also been working on some odds and ends like a new throttle bracket, brackets for the fuel rails, coil relocation's, and wiring. Should have some pics of some of this soon. |
|
|
|
Post by patriotformula on Dec 19, 2011 23:40:05 GMT -6
Looks like you're making some good progress man...
|
|
|
|
Post by nomrlz on Dec 20, 2011 6:55:39 GMT -6
thing is coming along nicely.
|
|
|
|
Post by thirdgen60 on Dec 28, 2011 1:57:25 GMT -6
Iv finished up the coil relocations, got the valve covers tapped for catch can lines and painted. Also got the injector plugs soldered on and the rest of the wiring straightened out and reloomed. Ended up going with a very dark charcoal on the valve covers. 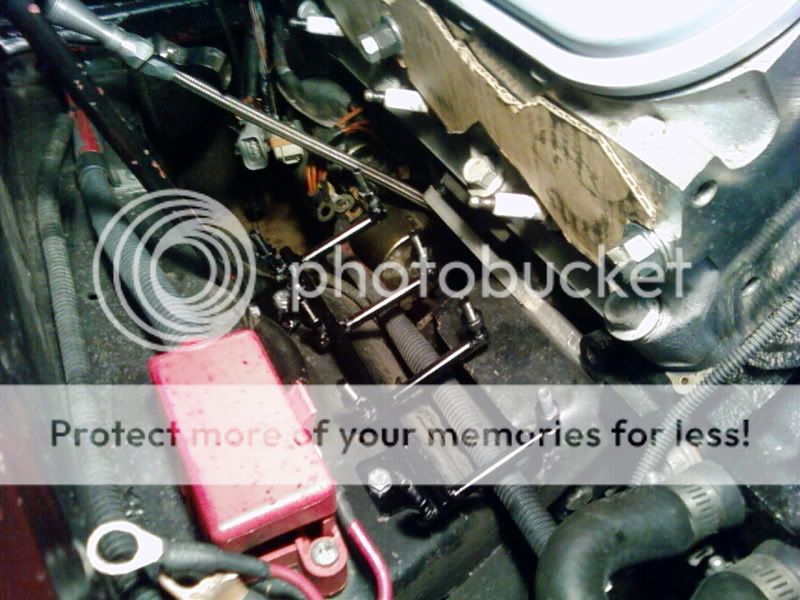 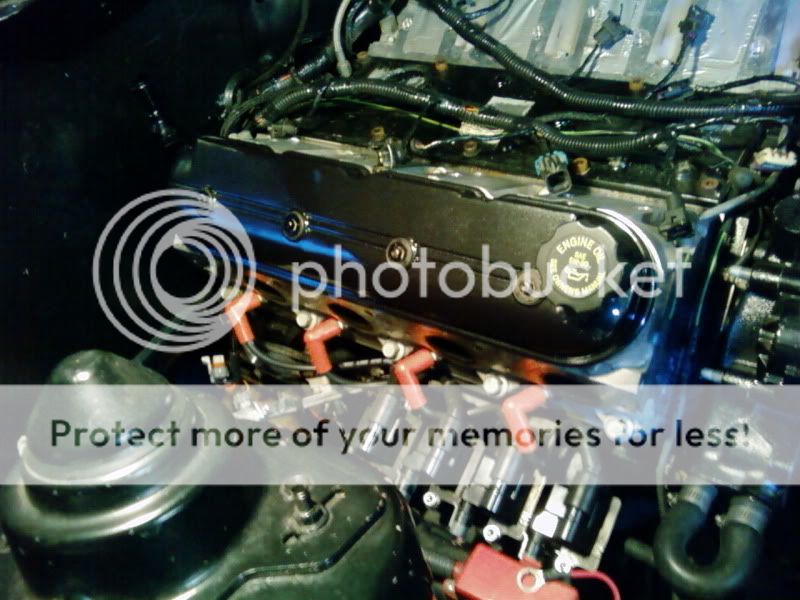 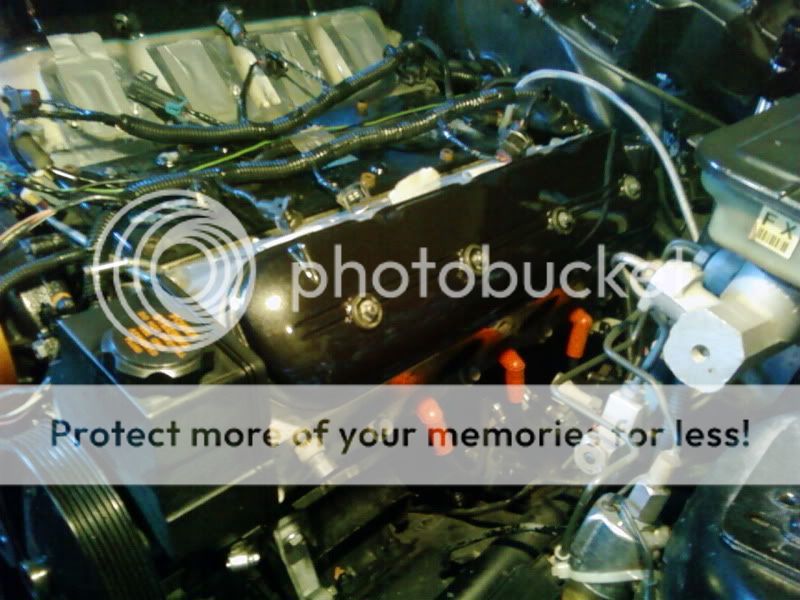 Here is a pic of the mayhem of rear suspension, exhaust and fuel parts strewn across my garage right now, all for the damn fuel tank lol. I pulled the fuel tank in order to swap in a sumped tank. There will be more to come as the fuel system starts to come together. 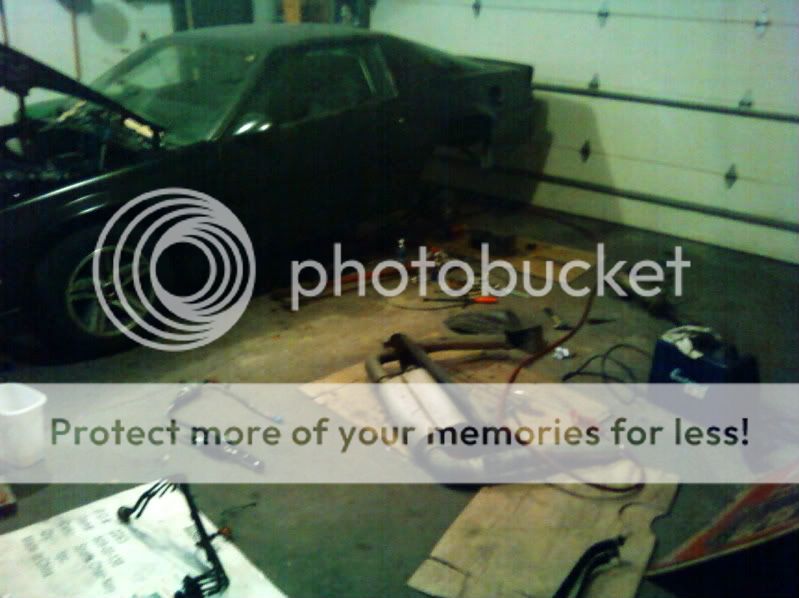 Thanks for looking |
|
shep446
Wrecked Daddy's Car
   Founding Member
Getting no where fast
Posts: 527
|
Post by shep446 on Dec 28, 2011 7:45:41 GMT -6
Keep it up.
I enjoy seeing your updates and following this build.
|
|
|
|
Post by thirdgen60 on Jan 5, 2012 0:09:37 GMT -6
Iv got the fuel system finished up after what seems like forever!! I pressure tested it with no leaks and luckily the tank fitting i welded in didnt leak because I probably would have just taken a match to it rather than pull the tank back out lol. Most of these pics aren't the best because its under the car but here they are. The sumped factory tank installed after i welded on a -10 outlet on the sump and undercoated the tank.  Fuel pump, filters, and lines. 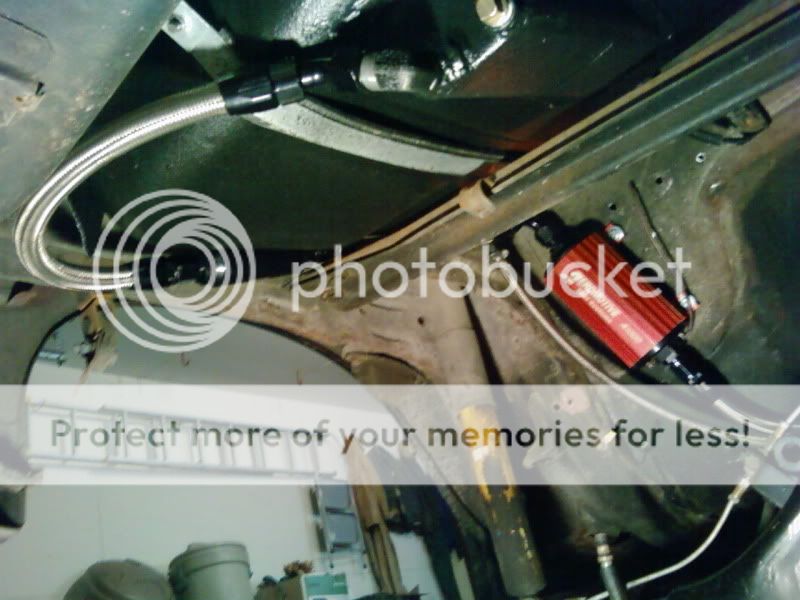 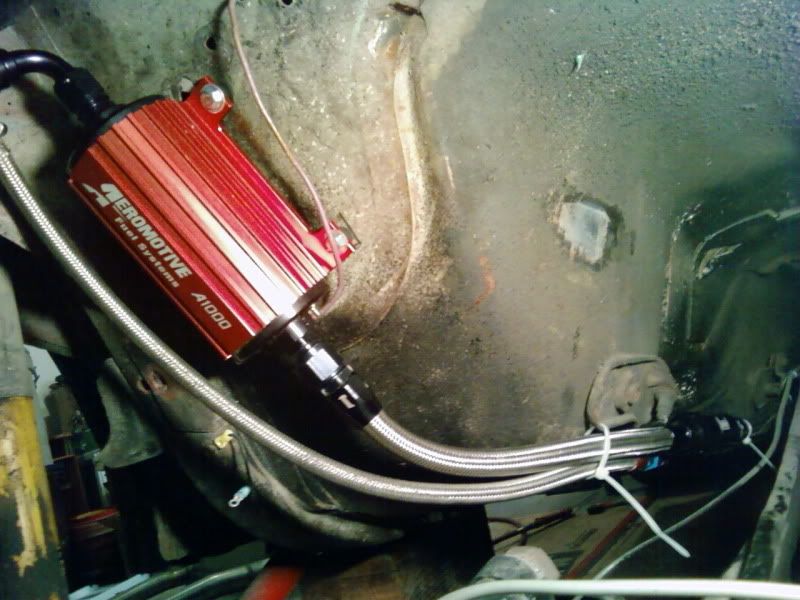 I had to do some beating on the exhaust heat shield to clear the sump. Ill also have to lower the muffler from its original location to clear the sump but that will be done later. 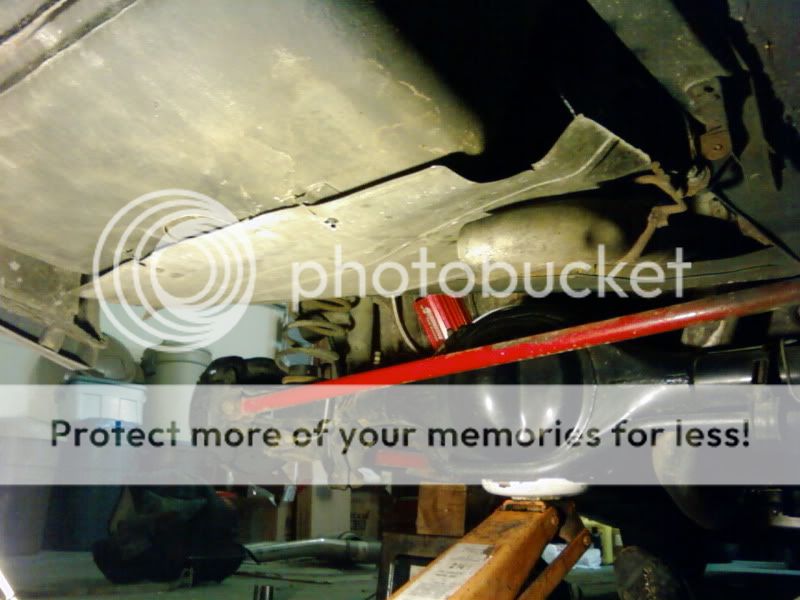 All the lines up top finished up. 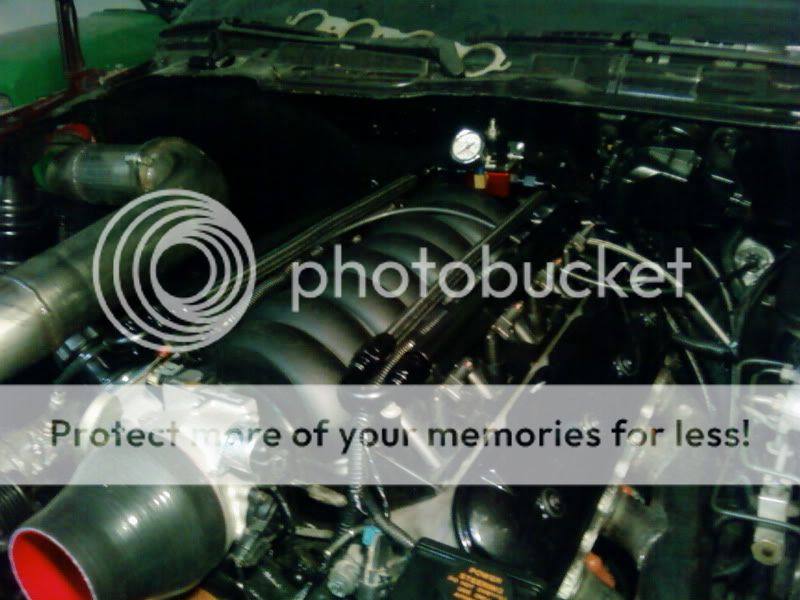 I also picked up a 2 gauge dash pod meant for the top of a dash and mounted on the under side of the center vents. The boost gauge is in it now and i'm waiting on the a/f gauge. I went this route because im not a big fan of the pillar mounts, everyone in the world doesnt need to see what my a/f is ;D. 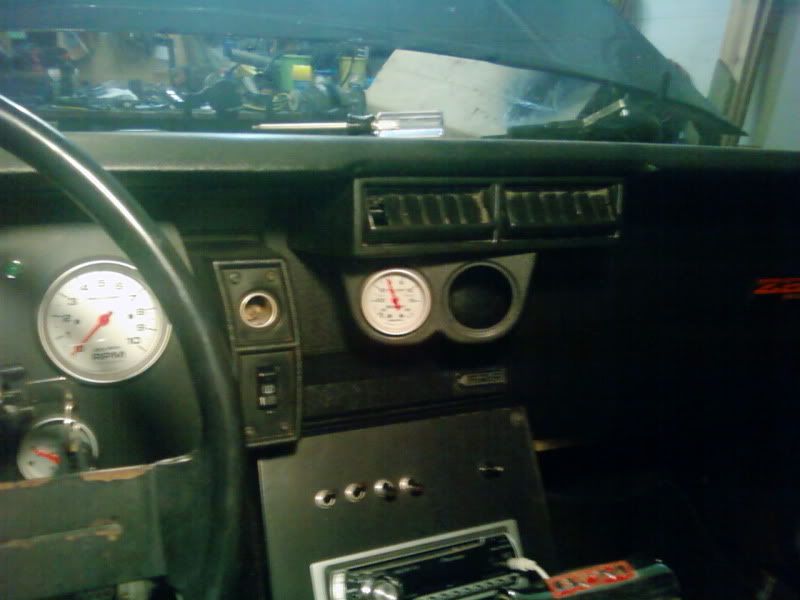 I added a bracket to the downpipe behind the fender and got the fender hole cut with the help of a cardboard cutout. No second chances on that one. 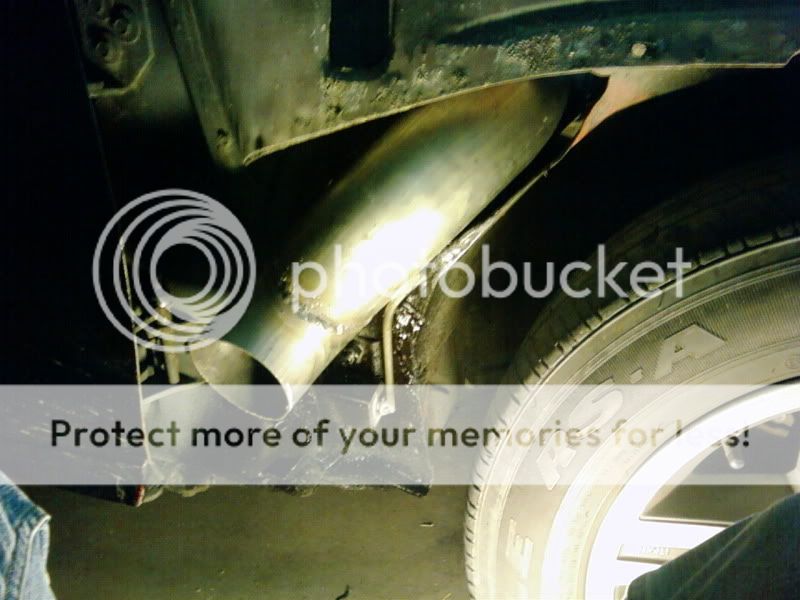 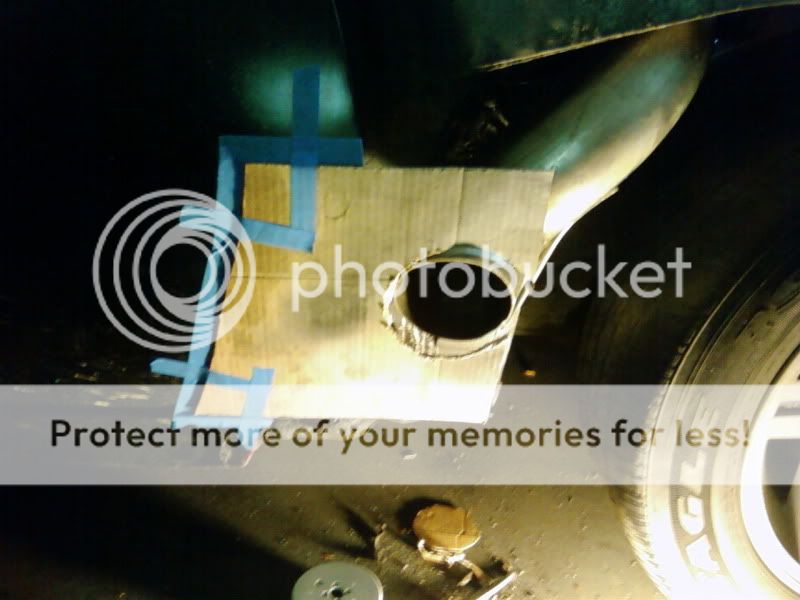 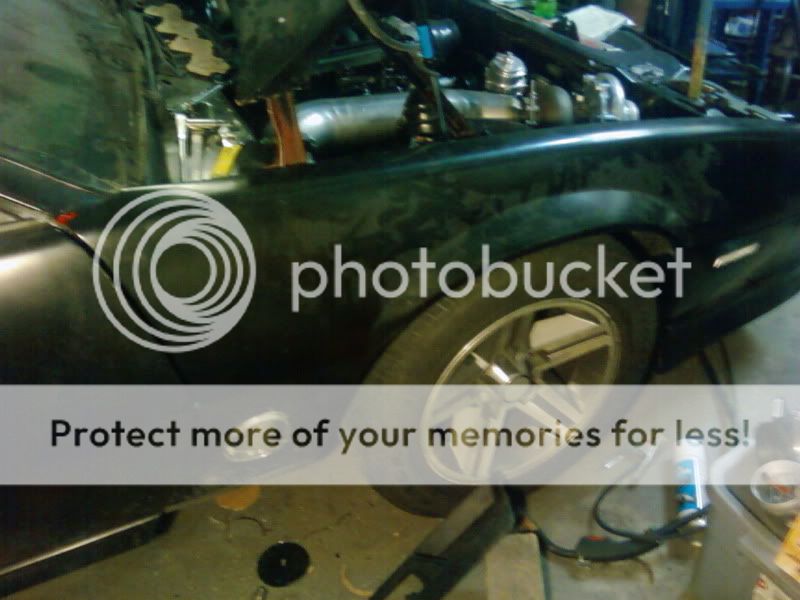 |
|
Deleted
Deleted Member
Posts: 0
|
Post by Deleted on Jan 5, 2012 0:16:26 GMT -6
Lookin good!
|
|
|
|
Post by thirdgen60 on Jan 5, 2012 0:54:31 GMT -6
Thanks. Im shooting to have this thing fired up in two weeks before i go back to school so i need to get a move on.
|
|
|
|
Post by Blackfox on Jan 6, 2012 13:14:15 GMT -6
Looking good.
|
|
|
|
Post by thirdgen60 on Jan 8, 2012 15:27:58 GMT -6
A little more progress. Iv got the wastegate outlet and the 3" to go out the back of the car tied into the downpipe. Busted out the duct tape again since the 3" portion was a bit tricky ;D. 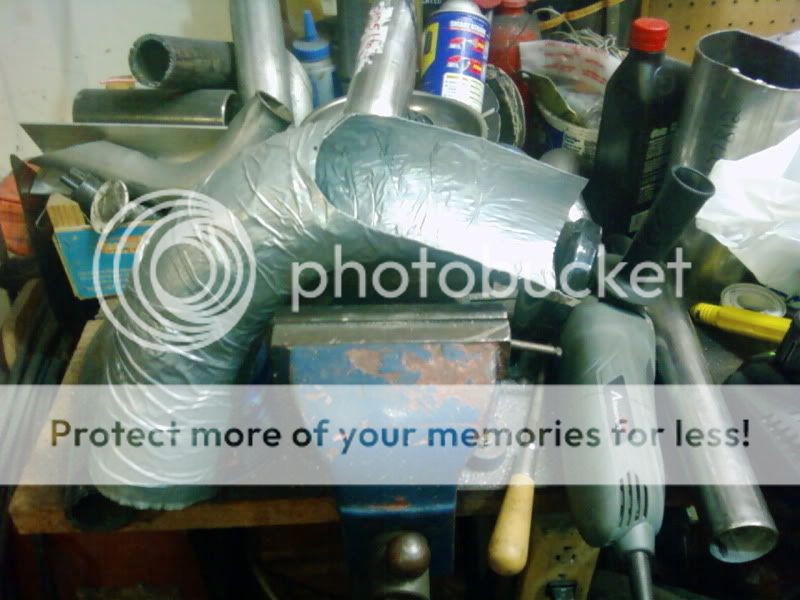 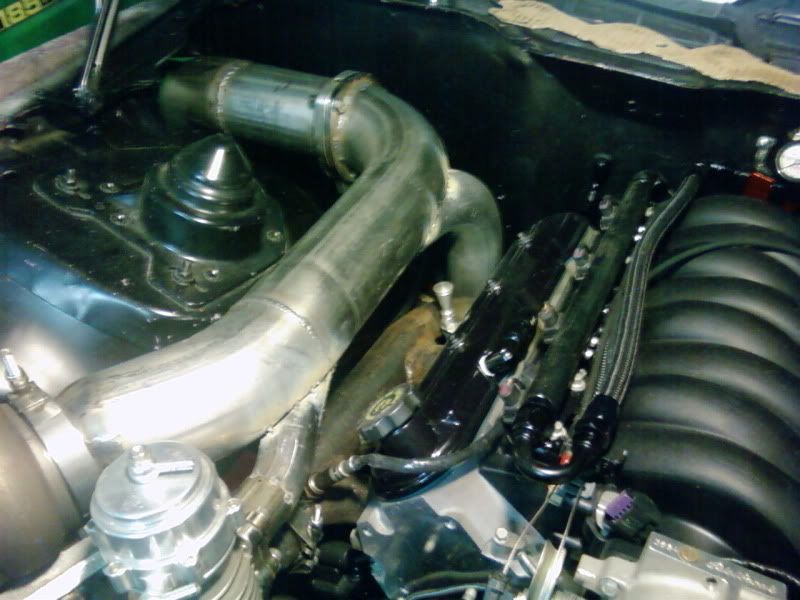 Also got the catch can mounted, the breather lines run to the valve covers, and a coat of 2000 degree black sprayed on for now.  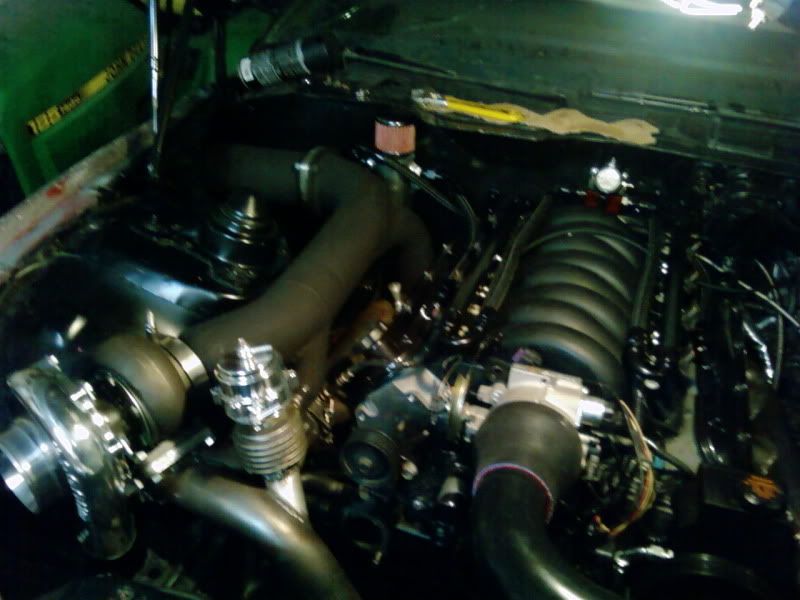 Thanks for looking |
|
|
|
Post by thirdgen60 on Jan 23, 2012 12:18:30 GMT -6
Finally had a chance to get some work done on the car this weekend. I finished up the install on the boost and a/f gauges.  My original plan was to have the exhaust ceramic coated but after thinking about it, i decided to wait on that in case of any cracks or changes i feel like making, since the whole setup will more than likely be pulled back out next winter anyways. So i spent some time wrapping all the exhaust parts. I first sprayed all the exhaust with 2000 degree paint to hopefully stop them from rusting under the wrap. Also once wrapped, i sprayed them with some black silicone spray that came in the wrap kit, it is supposed to help seal the wrap and keep it looking nice. Everything freshly wrapped 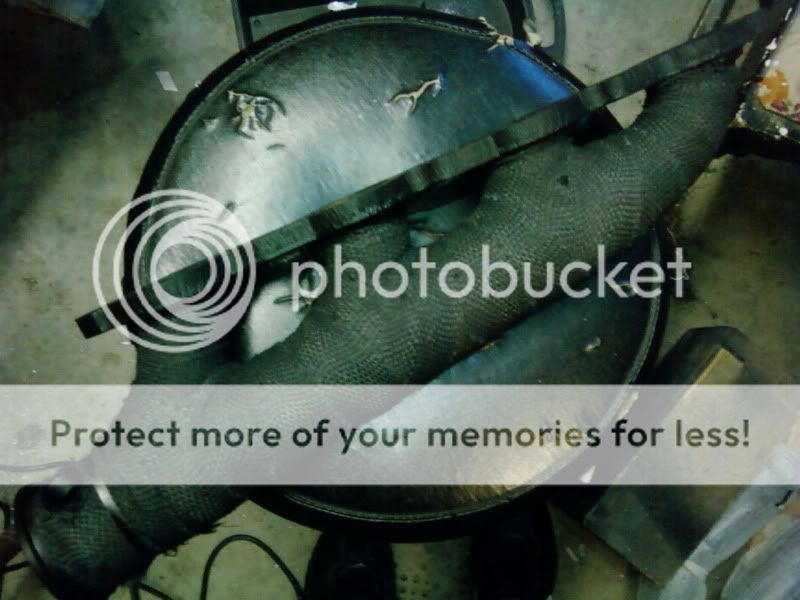 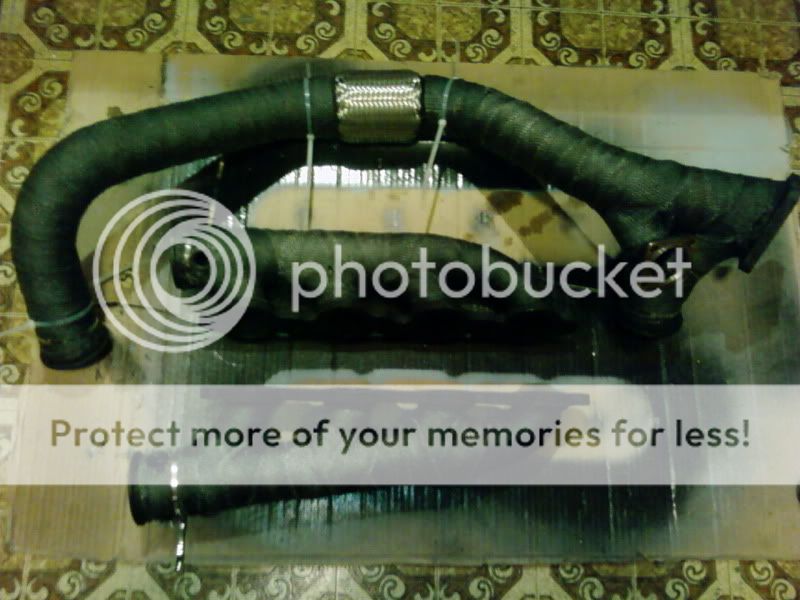 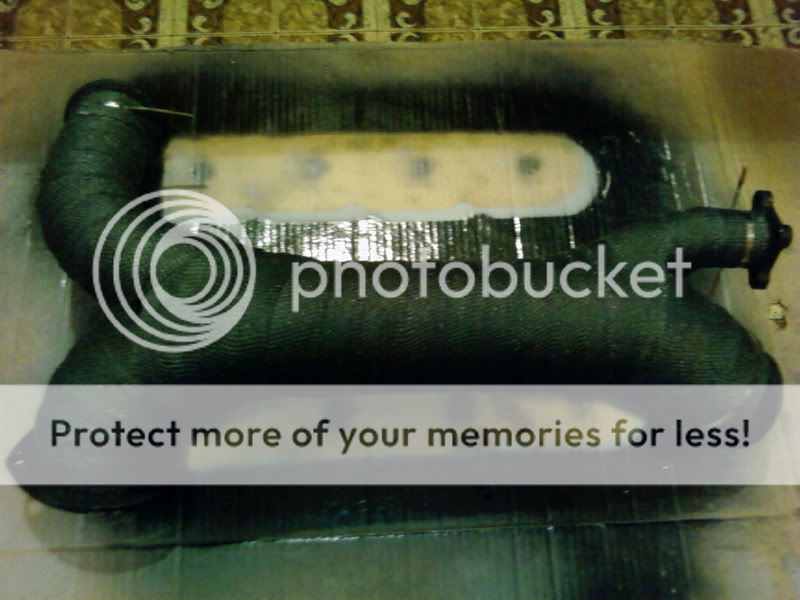 Sprayed with the silicone spray. 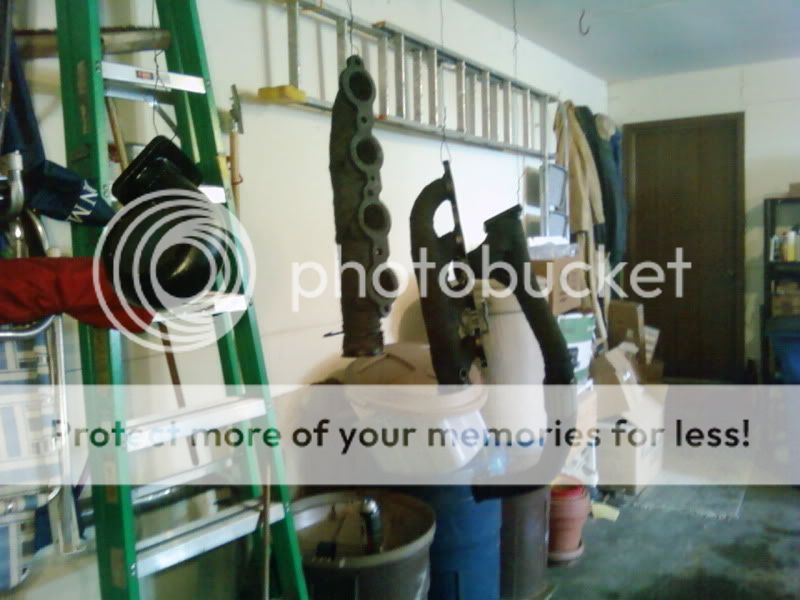 And back on the car 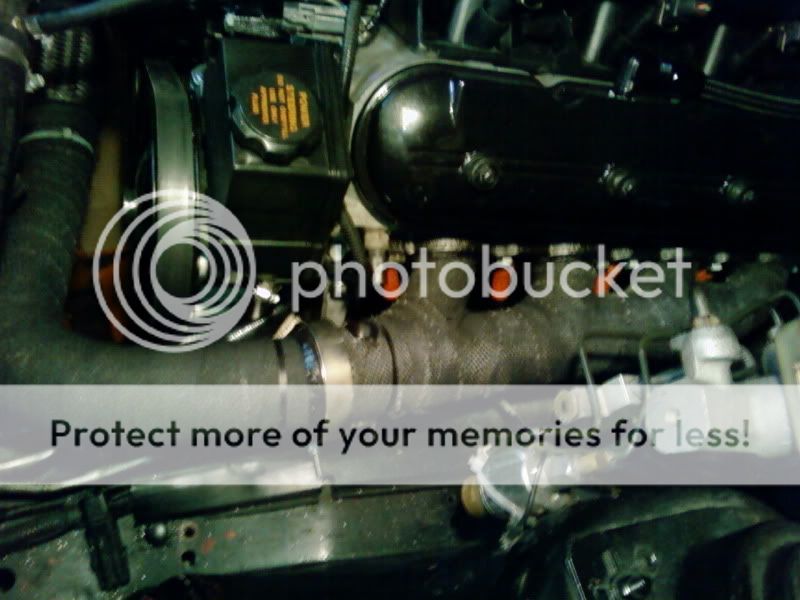 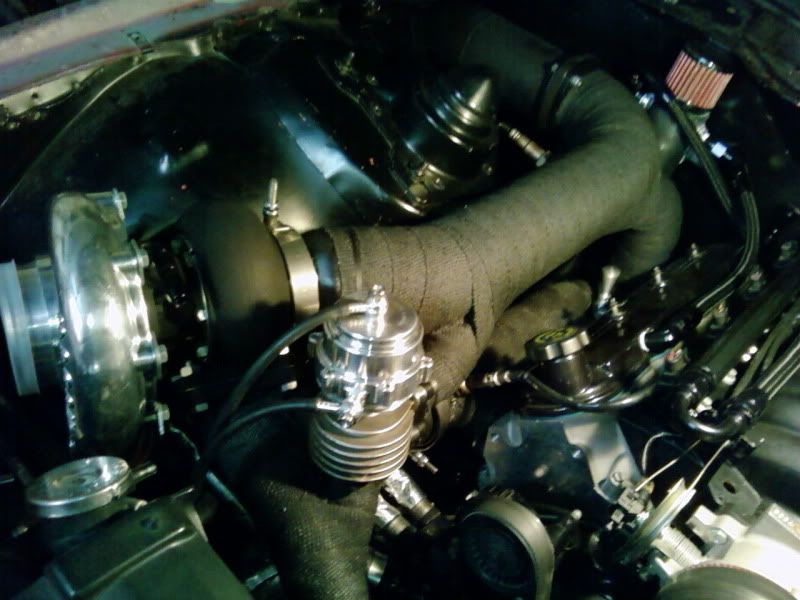 Normally i'm not a huge fan of the way exhaust wrap looks so i was a bit skeptical of using it. But i think this turned out pretty good and i would definitely recommend using that silicone spray if you guys wrap anything of your own, it definitely evened up the color and just gave everything a better look, assuming it holds up well. I also got a few odds and ends done like swapping out pushrods for some stock lengths, running wiring for the e-cutout, threw in a set of TR6 plugs, etc. I should also be getting my ecu back this week, since speed inc forgot to ship it back to me all last week until i emailed them about it....DOH! So with some luck i might be able to get this thing fired up soon. Thanks for looking, Tyler |
|
|
|
Post by MeanYellowZ on Jan 23, 2012 13:21:38 GMT -6
Looks good. I'm thinking a three position switch for the cutout would be cool with: Open, Closed, and Auto, wired through a hobs switch so it opens with any positive manifold pressure, or even on an RPM activated switch.
|
|
|
|
Post by thirdgen60 on Jan 23, 2012 13:28:33 GMT -6
Yeah that would be cool. The only problem is the QTP cutout has no limit switches in it so you just have to hold the switch in the car until you think its all the way open lol. The only way around it would be some sort of timer box in conjunction with the hobbs switch that would just hold the switch for 3 seconds or whatever it take to open the cutout.
|
|
|
|
Post by MeanYellowZ on Jan 23, 2012 14:05:16 GMT -6
yeah a timed based relay or relay module would do the trick for that, if that isn't built into the QTP cutouts I think I would add a time based device to the system even if just for the switch usage, would make opening and closing the cutout better.
|
|
|
|
Post by patriotformula on Jan 23, 2012 22:00:24 GMT -6
I say just run it open all the time... The turbo quiets it down BIGGGG time... Cutouts are kinda a waste of money in my opinion. Looking good tho!
|
|
|
|
Post by thirdgen60 on Jan 23, 2012 22:06:50 GMT -6
Thanks, i doubt it will see much time closed but it might come in handy to have the option. I already had the 4" cutout and all the exhaust from the n/a setup so figured why not incorporate it.
|
|
|
|
Post by nomrlz on Jan 24, 2012 6:20:30 GMT -6
build is lookin good. can't wait to see it at the track
|
|
|
|
Post by thirdgen60 on Jan 26, 2012 14:44:03 GMT -6
Well i managed to get the car fired up yesterday with no turbo on it yet. I wanted to start it first with no turbo just in case there was any shavings or slag left in the manifolds or crossover. I also managed to find that i had a power steering leak, 2 slow seeping fuel leaks, my coolant temp gauge didnt work and my cooling fan didnt turn on..... or in other words pretty much everything i touched ;D
|
|
dueces
Wrecked Daddy's Car
  
Posts: 565
|
Post by dueces on Jan 28, 2012 11:33:42 GMT -6
That is gonna be some serious Mullet Power! So what are you thinkin? 10.60 First pass?  |
|
|
|
Post by thirdgen60 on Jan 28, 2012 19:02:49 GMT -6
Haha I need one of those hats with the built in mullet. I'll be happy if i can get a 10 sec pass this season
|
|
|
|
Post by thirdgen60 on Feb 6, 2012 16:32:09 GMT -6
My hard work finally paid off when i got to drive my car this weekend!!! I got the intake tubing installed, along with the IAT sensor and blow off valve. After a quick oil change I was out terrorizing the streets by noon on Sunday ;D. Couldn't have asked for better weather in February so i managed to put about 50 miles on the new setup. I had a few minor problems with the exhaust rattling, my oil feed line having a bit of a leak and my bov being open at idle (i think i just need a heavier spring). But should get those squared away next weekend. Here is everything the way it sits now.  I was watching the A/F and boost closely to be sure they were in check because i am just running a speed density base tune from speed inc for now. This thing is a blast to drive and it killed me to go back to school for the week  . Hopefully ill get some video up after next weekend. Thanks for looking Tyler |
|
|
|
Post by s8er01z on Feb 6, 2012 16:43:31 GMT -6
Very nice!
|
|